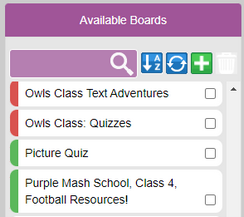
Go to the Sharing tab, click on Display Boards and the  button to access the Display Boards control panel.
This displays a list of the existing boards if there are any.

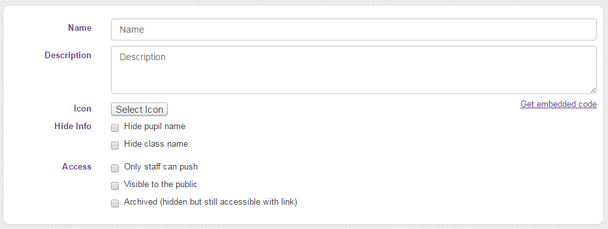
To add a board, click the ![]() icon, and choose a name for the board.
icon, and choose a name for the board.
Add a description for the board, and choose an icon to represent the board.

Next, decide upon the following options and tick the tick boxes accordingly:
1) Whether to display the children's names and/or class name on the board.
2) Whether children can push to the Display Board or only staff.
3) Whether this board will be visible to the public* or only within school.
4) The Archived tick box means that a Display Board cannot be seen on the front screen or in the push screens but is still accessible with a link.
Finally, decide which classes and groups will be able to access, and contribute to, this board:
| • | To select particular classes or groups, click the folder for classes (or groups) and tick the classes or groups who can access the board. |
| • | If you want everyone in the school to be able to contribute to, and view, the board, simply click the check-box for All classes in this school. |

Click the ![]() button at the bottom of the screen to save the board.
button at the bottom of the screen to save the board.
* A share link and a QR code will appear that you can use to give access to this board - see the section Sharing a Display Board for further details.
You will only be able to add classes if you are the allocated teacher for that class.
Any teacher or administrator with access to a board can approve work of a child submitted to that board for approval, regardless of whether that teacher is assigned to that child's class. So if two classes share a board, both teachers will be able to approve work from the other's class. All teachers will get notifications about work submitted unless they switch this off. See the Alerts section for further details.
No two classes or groups can have access to a board with the same name. Rename boards if required.